DIY Tips: How to Install Hardwood Flooring Like a Pro
K&
Installing hardwood flooring can transform your home, adding elegance and warmth. While it may seem daunting, with the right tools and knowledge, you can achieve professional results. This guide will walk you through the essential steps to install hardwood flooring like a pro.
Gather Your Tools and Materials
Before starting, make sure you have all necessary tools and materials. You’ll need a tape measure, saw, hammer, pry bar, and a flooring nailer, among other tools. Additionally, ensure you have enough hardwood flooring, underlayment, and adhesive if needed.
- Tape measure
- Hammer
- Saw
- Flooring nailer
- Underlayment
- Adhesive
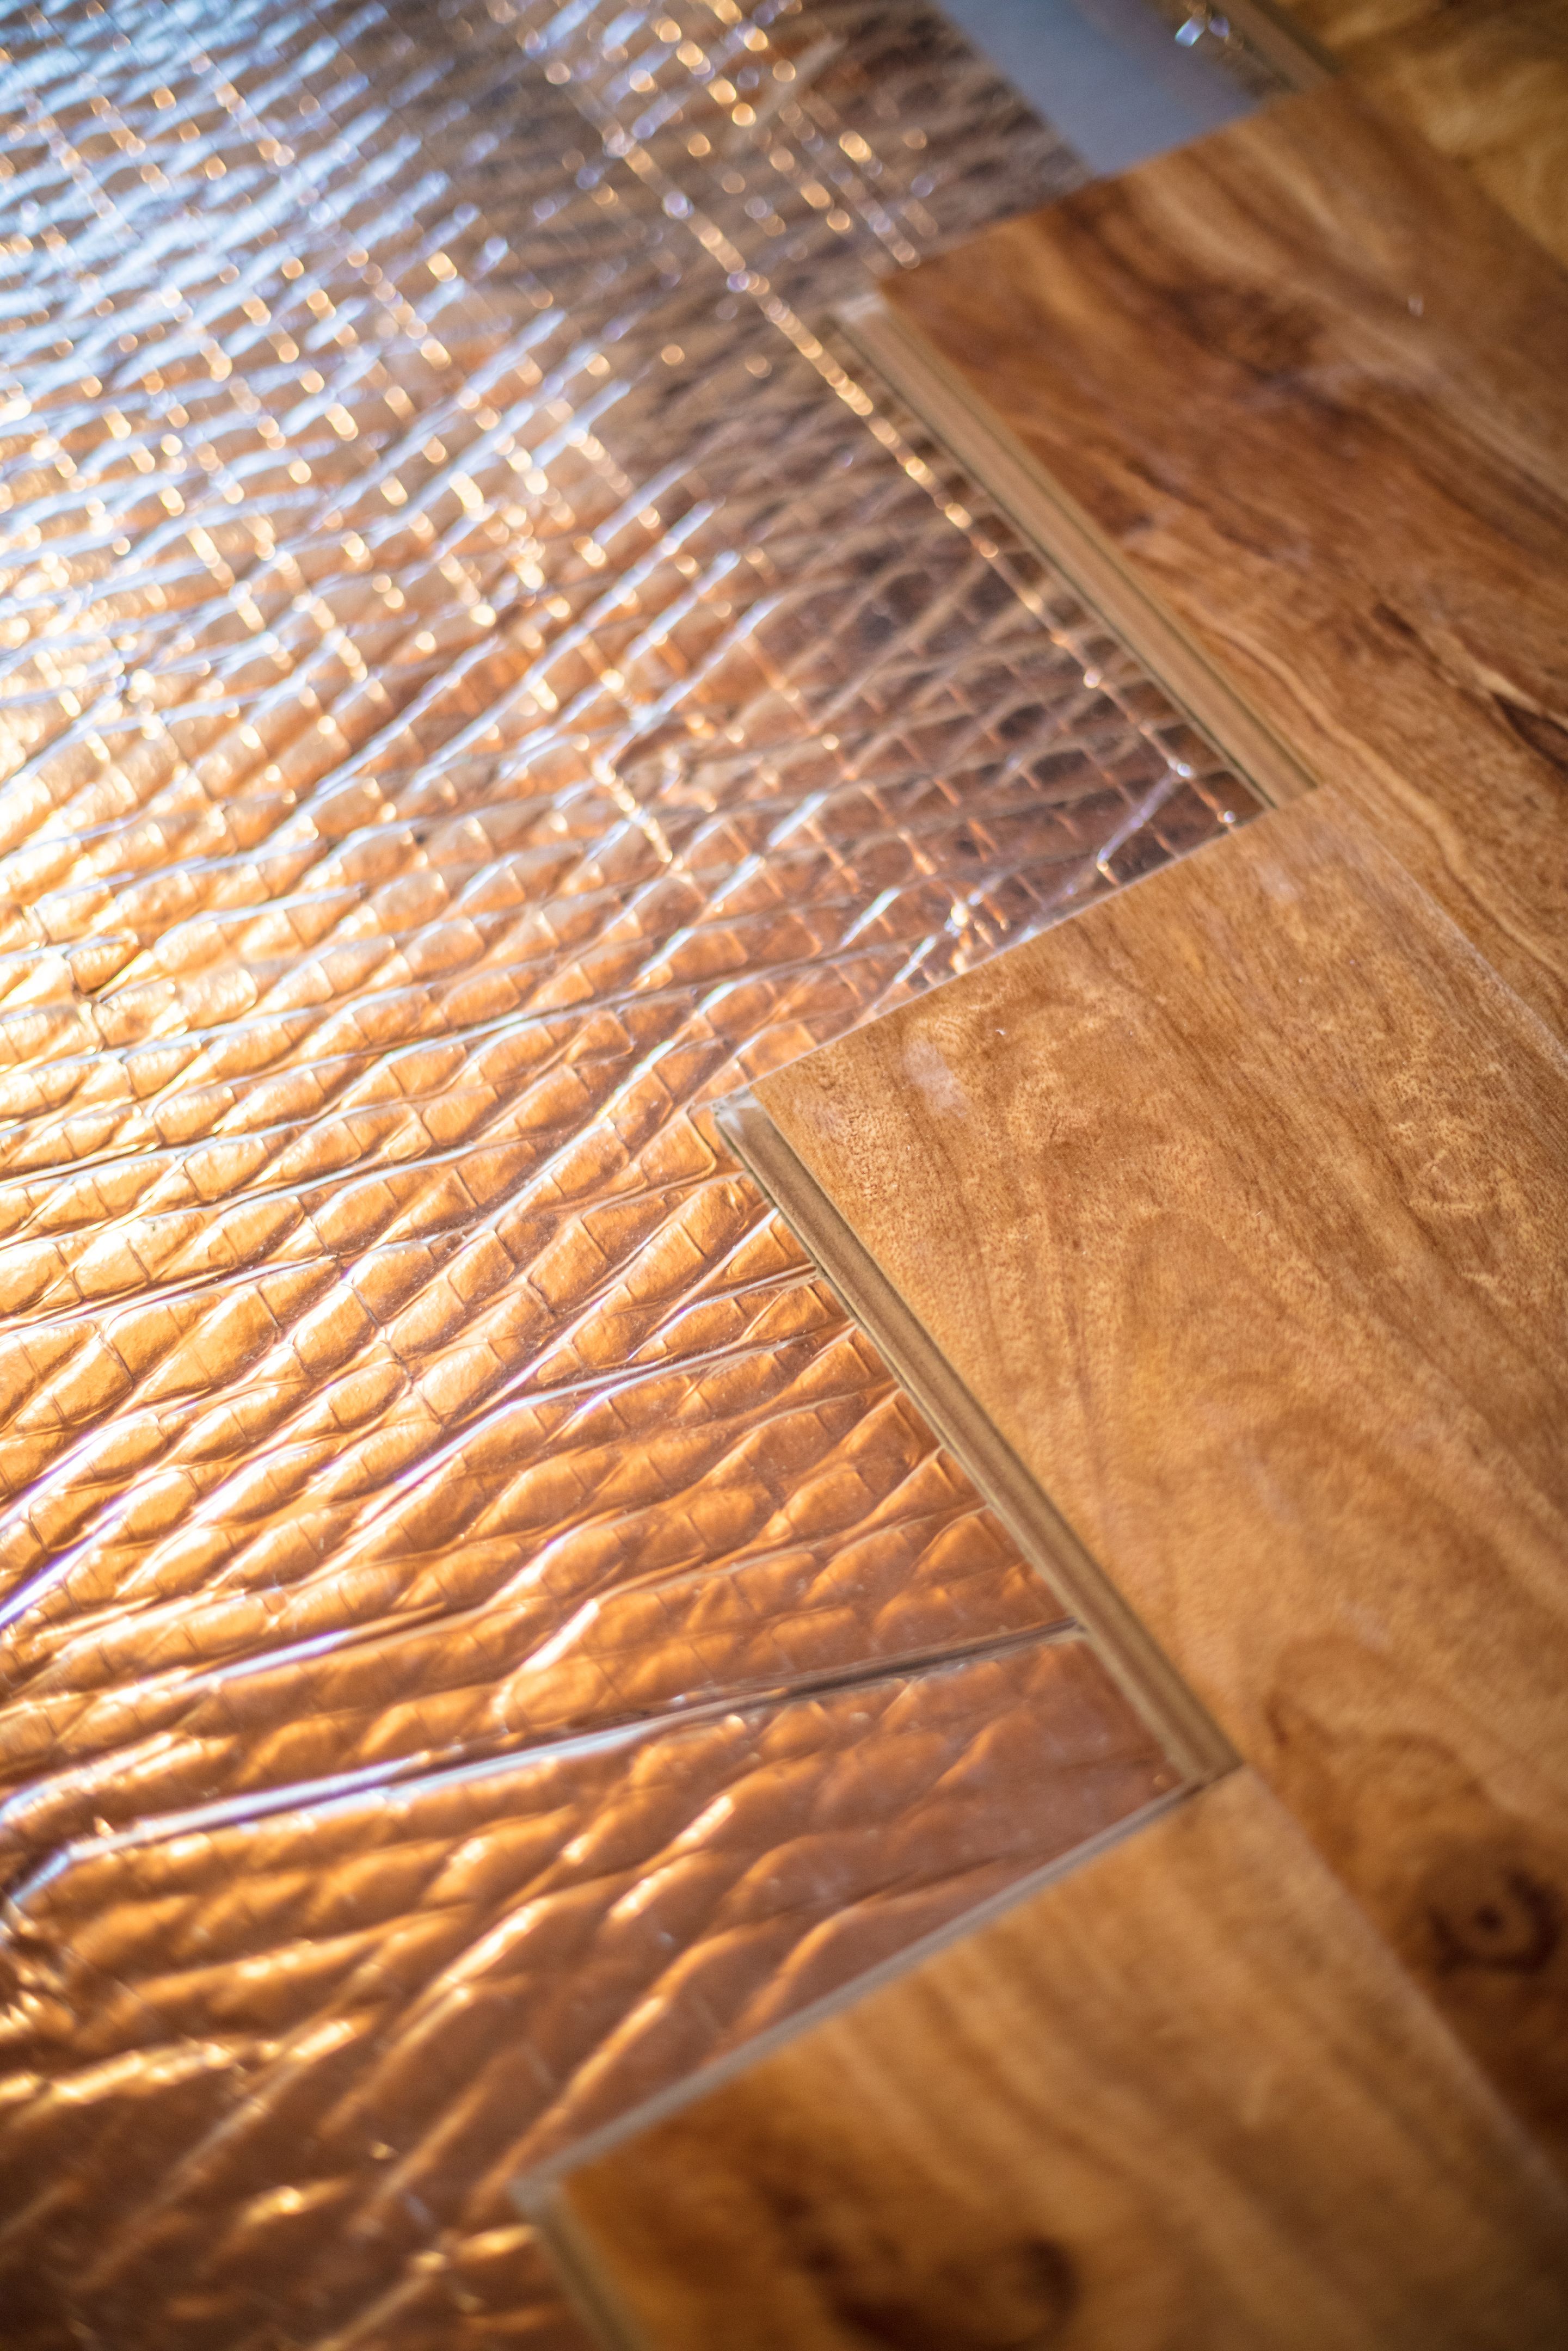
Prepare the Subfloor
Preparation is key to a successful installation. Start by removing any existing flooring and thoroughly cleaning the subfloor. Ensure it's dry, level, and free of debris. If necessary, sand down any high spots and fill low spots with a leveling compound.
Next, install the underlayment according to the manufacturer’s instructions. This layer is crucial as it provides moisture protection and soundproofing. Tape the seams of the underlayment to prevent any shifting during installation.
Acclimate Your Hardwood
Hardwood needs time to acclimate to the room’s temperature and humidity to prevent future warping. Leave the planks in the room where they'll be installed for at least 48 hours. This step is essential for ensuring the longevity of your flooring.
Plan Your Layout
Before you start installing, plan the layout of your planks. Decide on the direction of the boards, usually parallel to the longest wall or the main light source. This layout can make the room appear larger and more cohesive.
Calculate the width of the last row of planks. If it's less than one inch, trim the first row slightly to ensure the final row is wider and more stable.
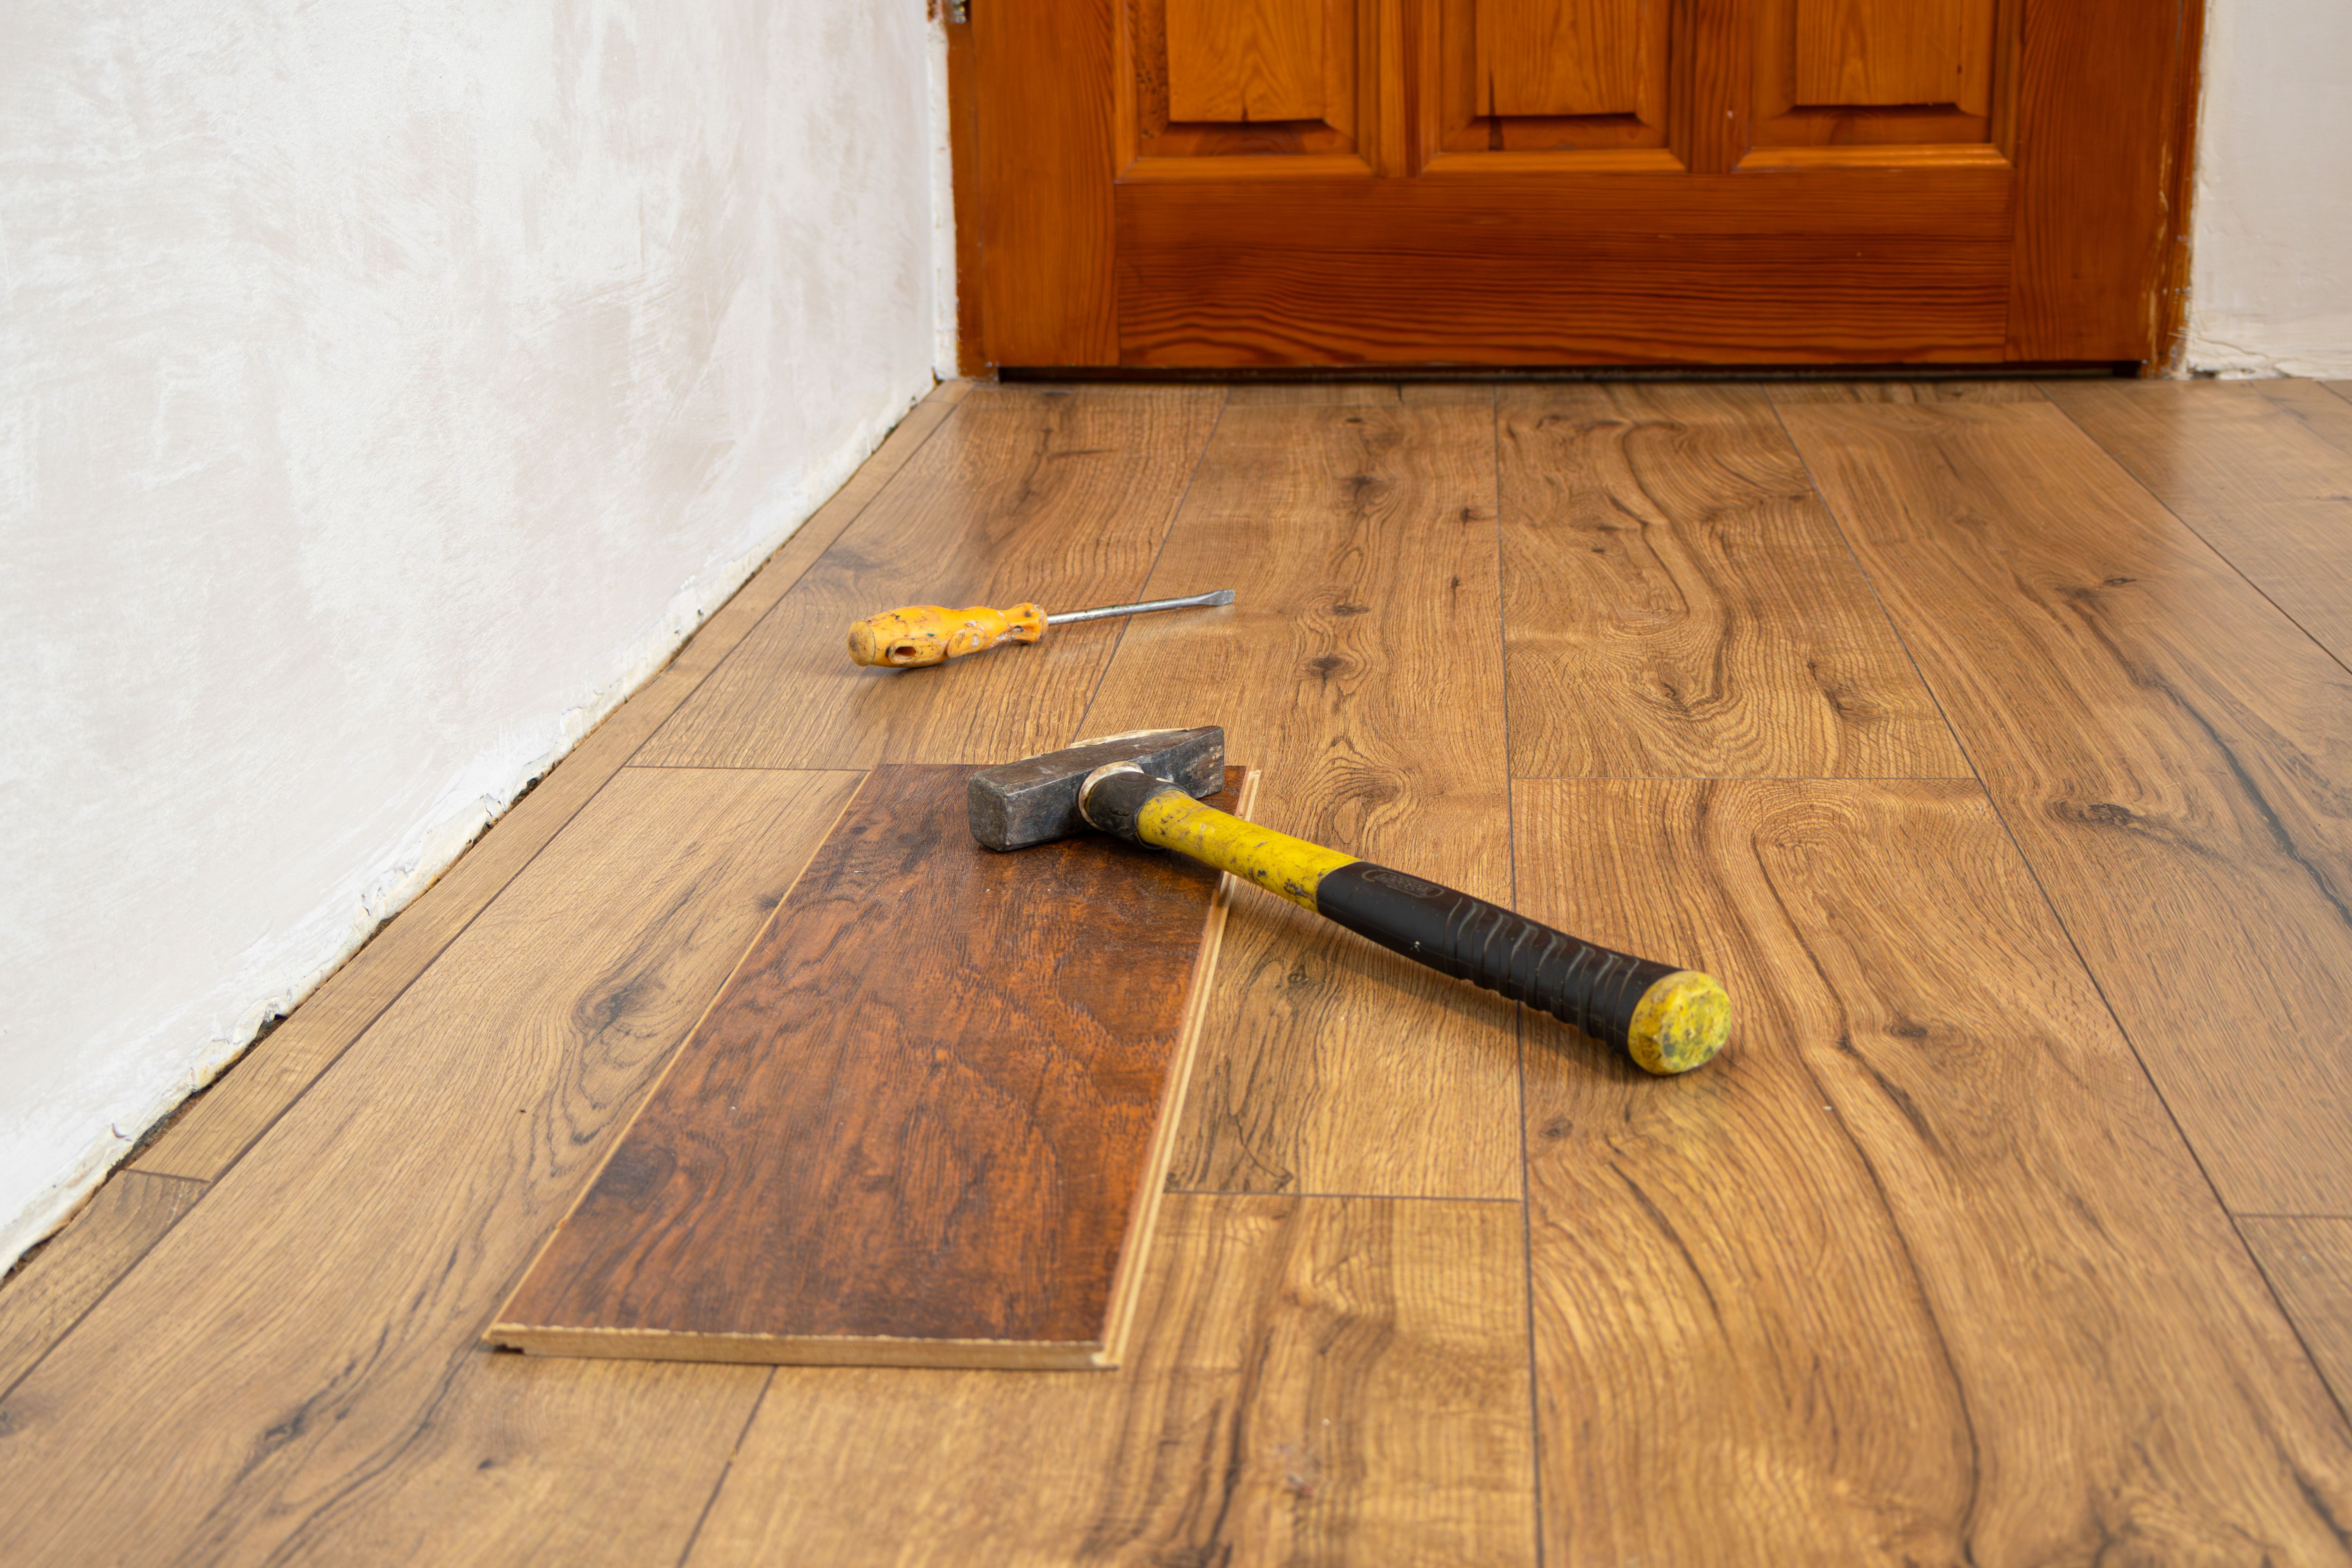
Start the Installation
Begin by laying the first row of planks, groove side towards the wall, leaving a small gap for expansion. Use spacers to maintain this gap. Nail the first row securely, ensuring it's straight and aligned.
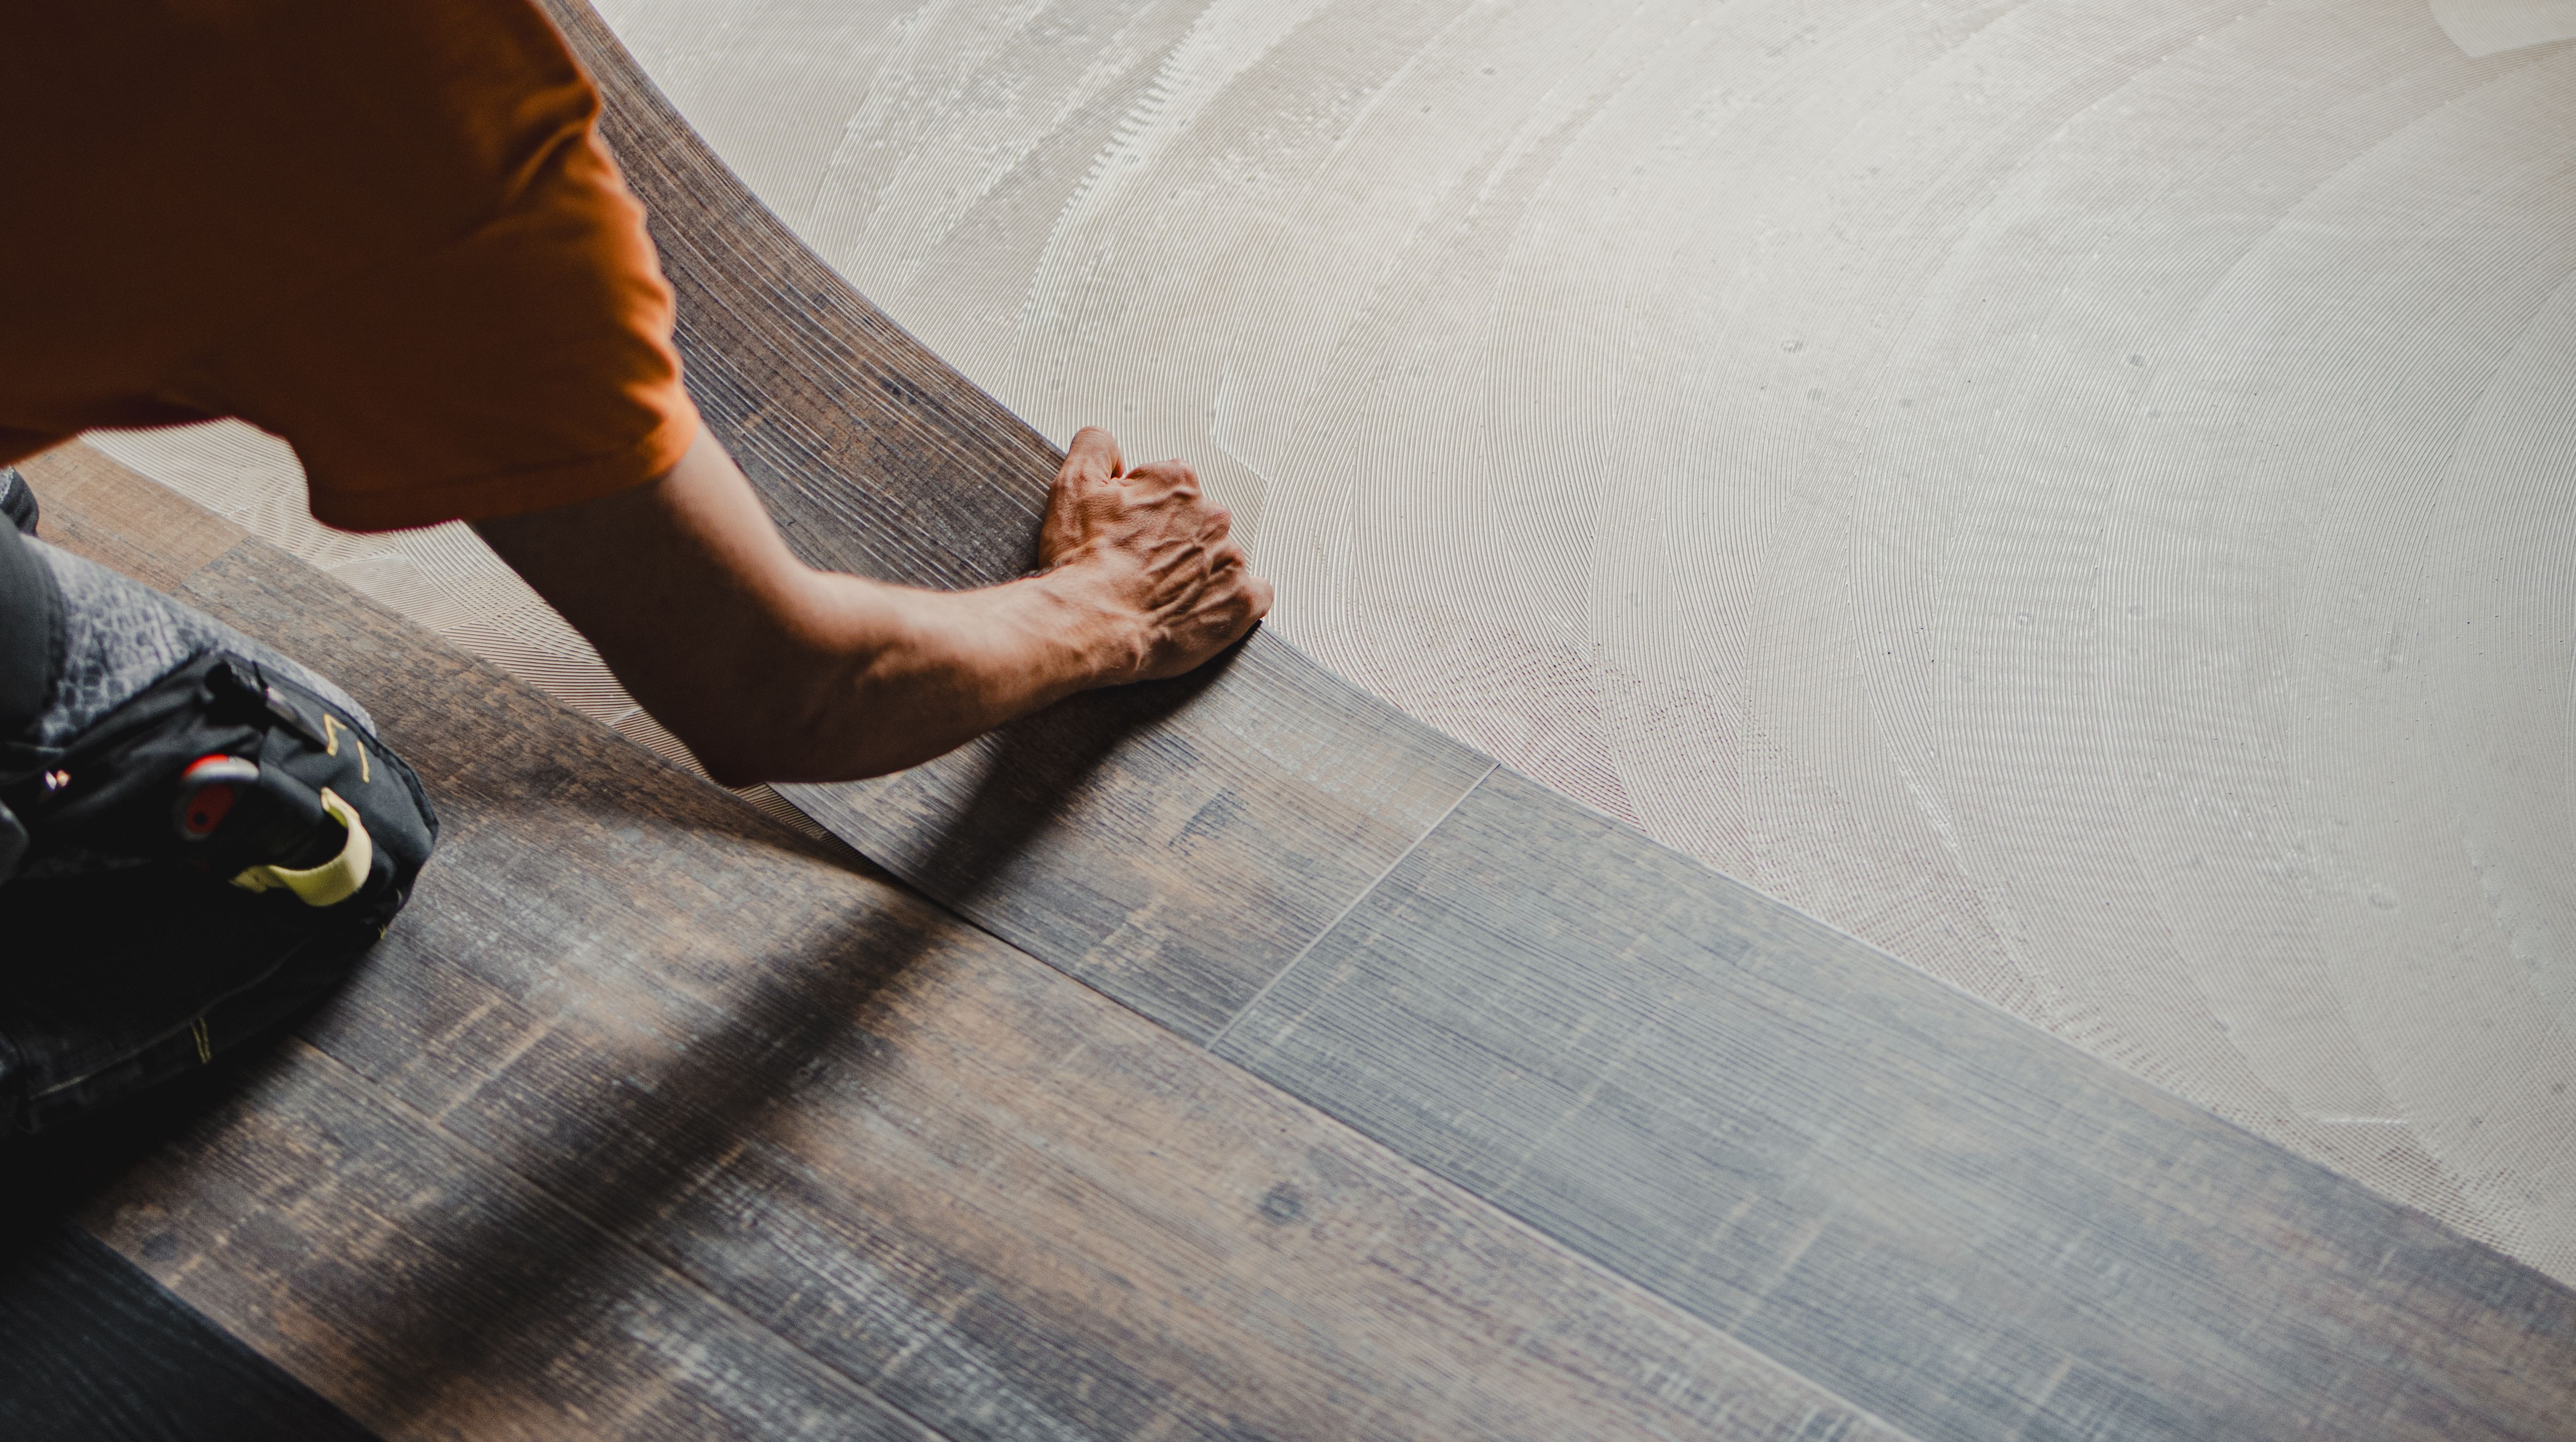
Continue by laying subsequent rows, staggering the end joints by at least six inches to enhance stability and aesthetics. Use a flooring nailer for a secure fit, and tap the boards tightly together using a tapping block.
Finishing Touches
Once all the planks are laid, remove the spacers and install baseboards to cover the expansion gap. This step not only secures the flooring but also adds a polished look to your room.
Finally, clean the floor thoroughly to remove any dust or debris. Use a wood cleaner suitable for your specific type of hardwood to maintain its shine and durability.