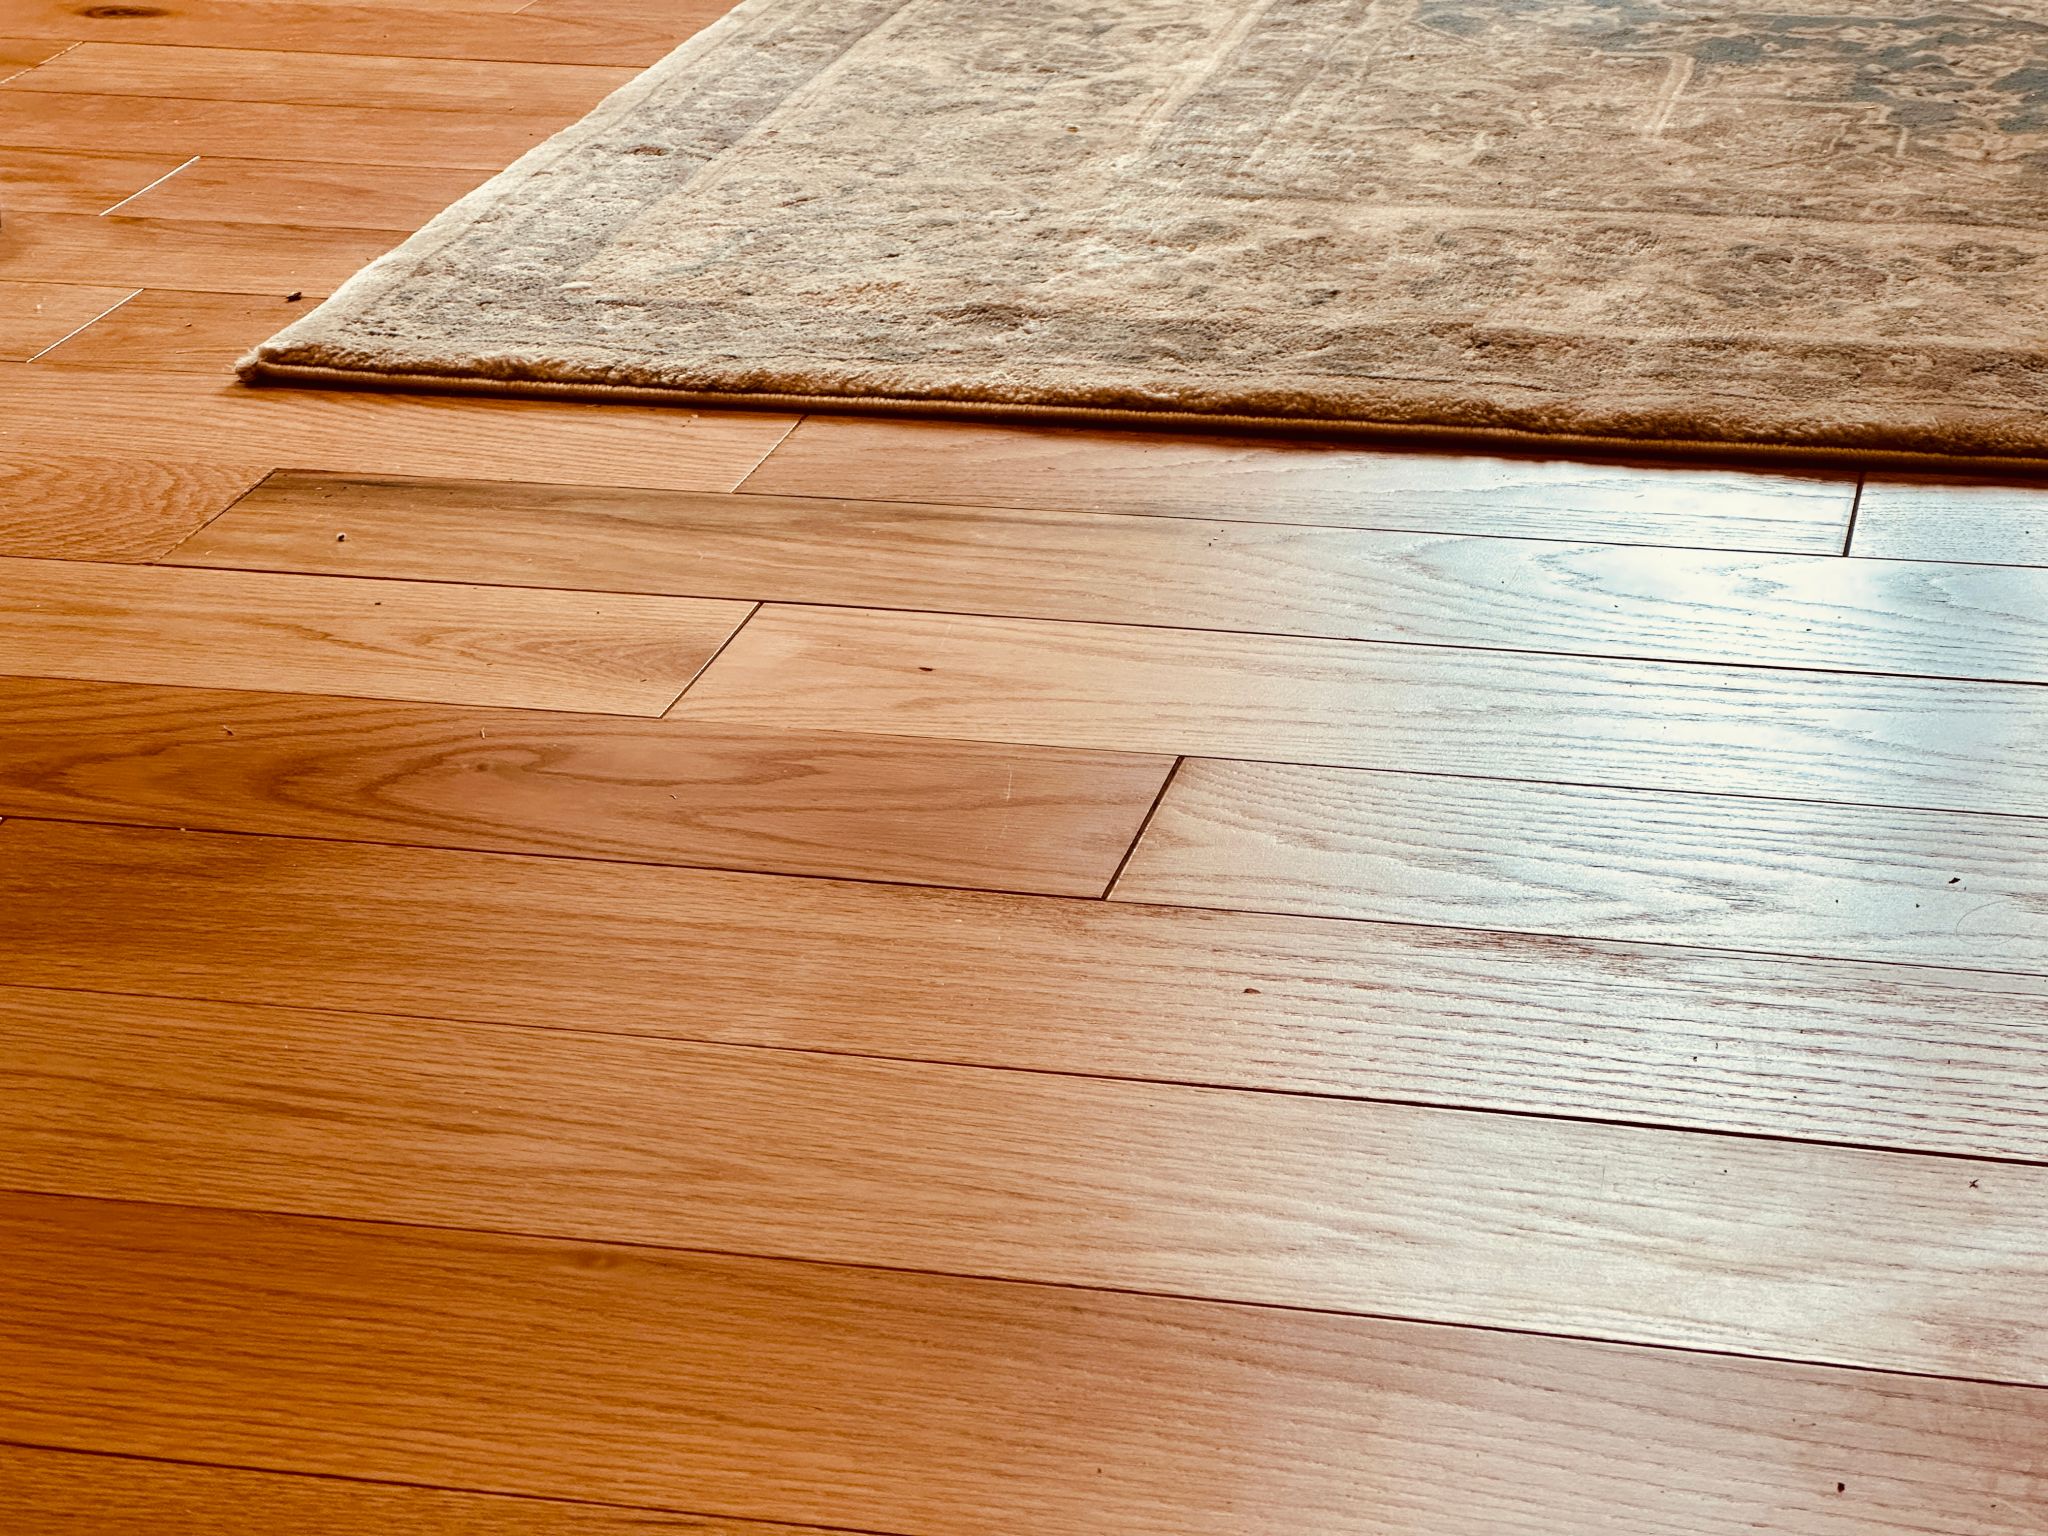
DIY Hardwood Flooring Installation: What Kansas City Homeowners Need to Know
K&
Understanding Hardwood Flooring Options
When considering a DIY hardwood flooring installation in Kansas City, the first step is to understand the different types of hardwood flooring available. Typically, homeowners have the choice between solid hardwood and engineered hardwood. Solid hardwood is made from a single piece of wood and offers a classic look and feel. On the other hand, engineered hardwood consists of multiple layers, providing better stability and resistance to changes in humidity.
It's crucial to select the right type of hardwood based on your needs and the specific conditions of your home. For instance, solid hardwood might not be the best option for basements or areas prone to moisture. Understanding these differences will ensure a successful installation that enhances your home's value and aesthetic appeal.

Preparing Your Space for Installation
Proper preparation is essential when installing hardwood flooring. Begin by removing any existing flooring material and ensuring the subfloor is clean, dry, and level. This step will prevent any issues with the hardwood installation and help achieve a smooth, professional finish.
Additionally, allow the hardwood planks to acclimate to your home's environment for at least 48 hours before installation. This process helps the wood adjust to the humidity and temperature of your home, reducing the risk of warping or gaps after installation.
Gathering Necessary Tools and Materials
Before you start your DIY project, gather all the necessary tools and materials. You will need a tape measure, saw, hammer, nails or staples, a nail gun (if using nails), spacers, a chalk line, and a pry bar for precise measurements and cuts. Having these tools on hand will streamline the installation process.

Choosing the Right Underlayment
The underlayment plays a significant role in the performance of your hardwood floor. It provides cushioning, reduces noise, and acts as a moisture barrier. Depending on your subfloor type and specific needs, you can choose from foam, cork, or rubber underlayment options. Selecting the right underlayment will contribute to the durability and comfort of your new floor.
Installation Steps
Once everything is ready, it's time to start laying your hardwood floor. Follow these steps for a successful DIY installation:
- Measure and Plan: Calculate the room's dimensions and plan the layout to minimize waste.
- Lay the Underlayment: Roll out your chosen underlayment across the subfloor.
- Start Laying Planks: Begin at one corner of the room, using spacers to maintain a gap between the floor and wall.
- Nail or Staple Planks: Secure each plank by nailing or stapling them into place.
- Cut Planks as Needed: Use a saw to cut planks to fit around corners or obstacles.

Finishing Touches
After laying all the planks, remove the spacers and install baseboards or molding to cover the expansion gap. This not only provides a polished look but also allows for natural expansion and contraction of the wood over time. Finally, clean the floor thoroughly to remove any dust or debris from the installation process.
A well-executed DIY hardwood flooring project can significantly enhance your home's beauty and value. By carefully following these steps and tips, Kansas City homeowners can achieve professional results while enjoying the satisfaction of completing a home improvement project themselves.